
PMU Introduction
PMU stand for Plug Management System.
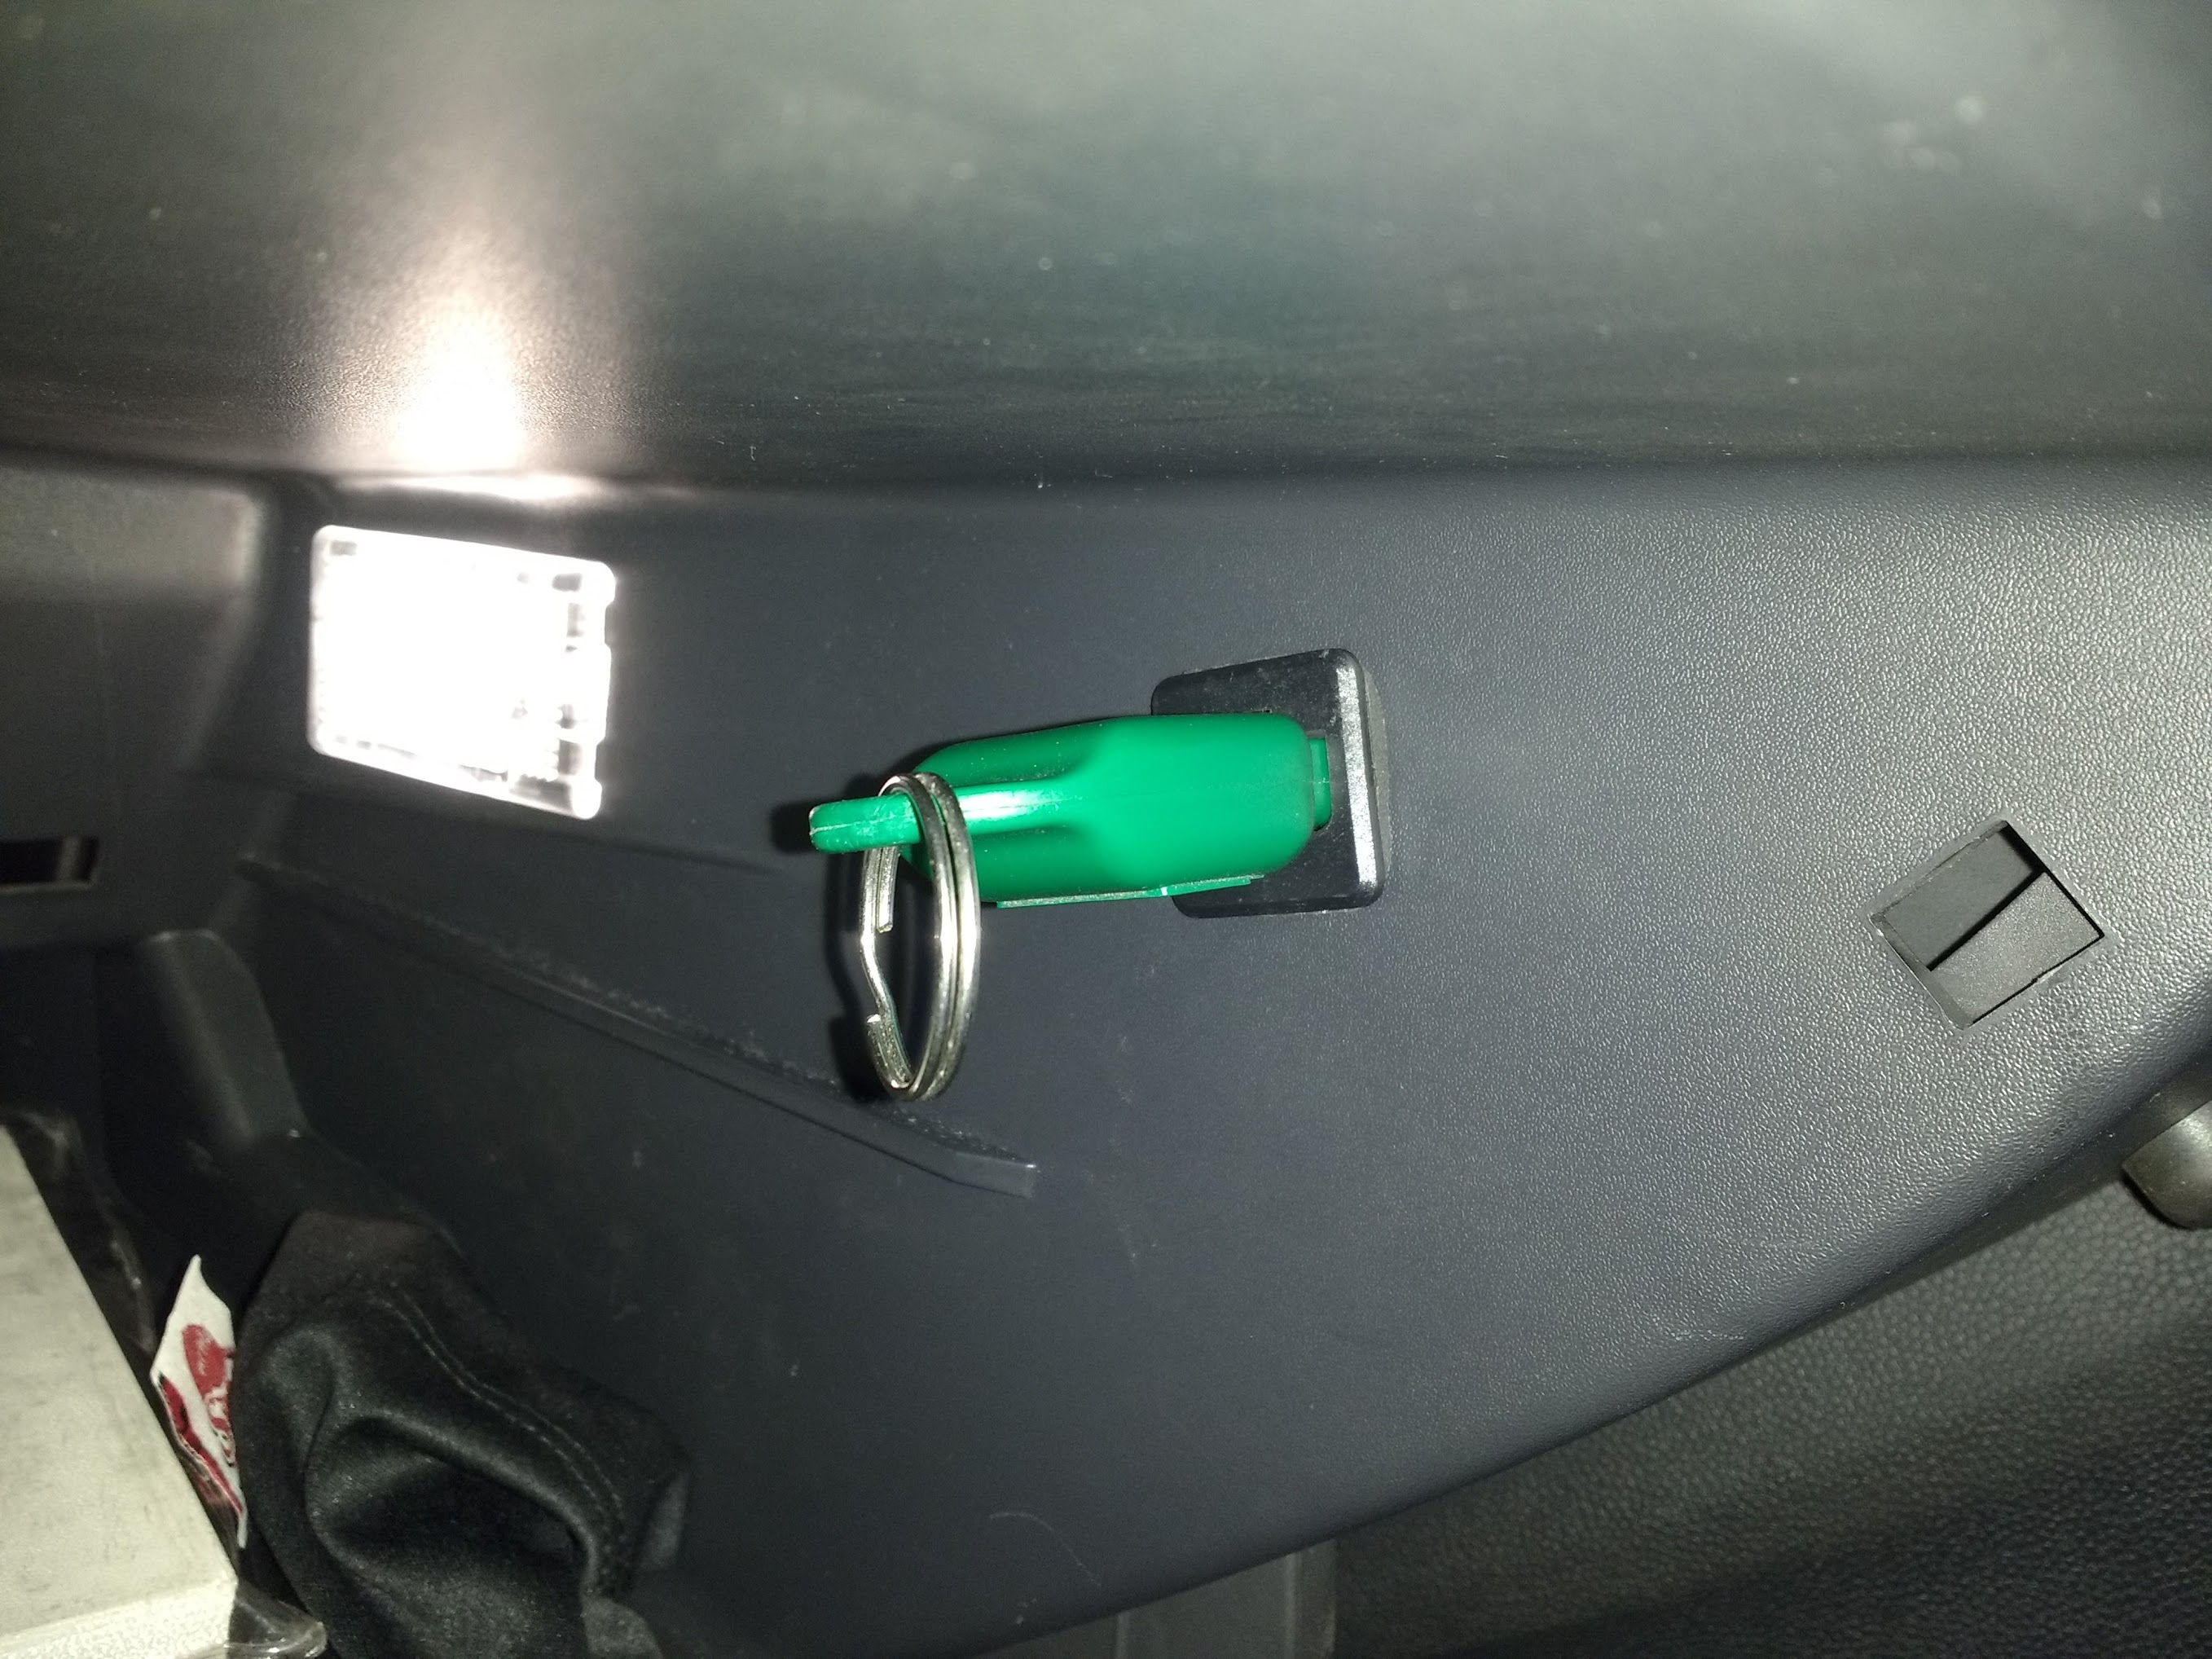
Basically the driver have a plug, which identifies them.
There are different types (and colours) of plugs.
It looks like a weird USB stick 😆
It keeps some information on the plug…
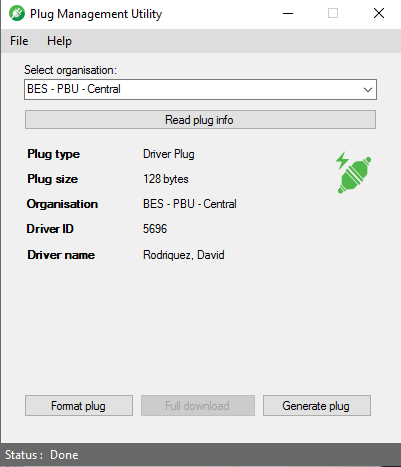
So the PMU system is used to write information to the plug.
In order to test this functionality you will need a PMU device which you plug into your PC’s USB. You then plug the PLUG into this device.
After this you open up the application and then you can read what is on that plug, but you can also write new information onto this plug.
You don’t need this device for all development.
So you will be able to code against the repo even if you don’t have this.
(I am very tired as I am writing this, so I hope this makes sense…)
PMU Moving parts
So we have the:
- Hardware: Not always needed
- Codebase: This is where the dev comes in
Codebase
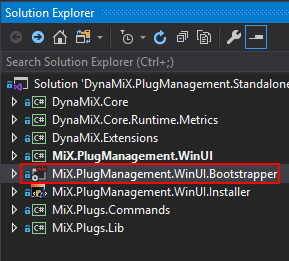
../DynaMiX.Backend/Utilities/PlugManagement/DynaMiX.PlugManagement.Standalone/
- You will most likely need the following the first time: PMU Fix WiX v3
- The code has a few projects in it
- It has the normal business logic…
- DynaMiX.Core.*
- It has a bootstrapper (used by the installer)
- I think this is where WiX comes into play
- It also has the installer
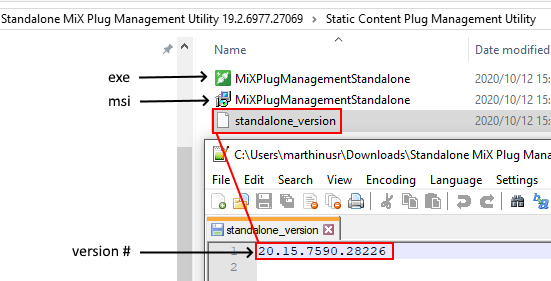
- We have an MSI and
- an EXE installer (if I am not mistaken)
- (And they work a bit differently)
- To keep track of which version we are compiling, we had a manual process of versioning with a version number (think there is more below)
- One of the teams potentially automated it since then
- One of these need to be signed… I think there is some more info below on this
- If not, I think the HOS team also worked on this
- It has the normal business logic…
PMU Code Setup
First step would be to get you code in order:
- PMU Code Base
- Remember the PMU Fix WiX v3
PMU APP (from old Confluence)
Icon:
![]()
OLD look:
Note
Below this point it gets a bit mirky. There are some notes on versioning, how this was added into the zip file, deploying, putting it on the Q: for deployment, however, I think a lot of this has changed… Let’s look into this if needed… for now I THINK THE ABOVE IS ENOUGH TO GET THE CODE RUNNING
Current issues
Bootstrapper
Version Number
ZIP file Content
Code base
SR: https://csojiramixtelematics.atlassian.net/browse/SR-15746
file:///C:/Projects/DynaMiX.Backend/Utilities/PlugManagement/DynaMiX.PlugManagement.Standalone/
SETTING UP:
PMU forms part of the normal BackEnd repository.
The PMU utility can be found in this directory.
..\DynaMiX.Backend\Utilities\PlugManagement\DynaMiX.PlugManagement.Standalone
After first opening the project within Visual Studio, you might see this error.

WiX Installation
BUILDING THE SOLUTION:
Change the version
..\DynaMiX.Backend\Utilities\PlugManagement\DynaMiX.PlugManagement.Standalone\MiX.PlugMangment.WinUI\Properties\AssemblyInfo.cs
Make sure it is a release build

The built files will be found somewhere like this:
- ..\DynaMiX.Backend\Utilities\PlugManagement\DynaMiX.PlugManagement.Standalone\MiX.PlugManagement.WinUI.Bootstrapper\bin\Release
- The Installer has its own directory.
DEPLOYING THE SOLUTION:
If you have never worked with this, there are basically two steps.
- Zip the latest files
- Deploy it by placing it on the company’s Q drive
Creating the zip file.
Get the latest INT PMU zip file (if you don’t have one already)
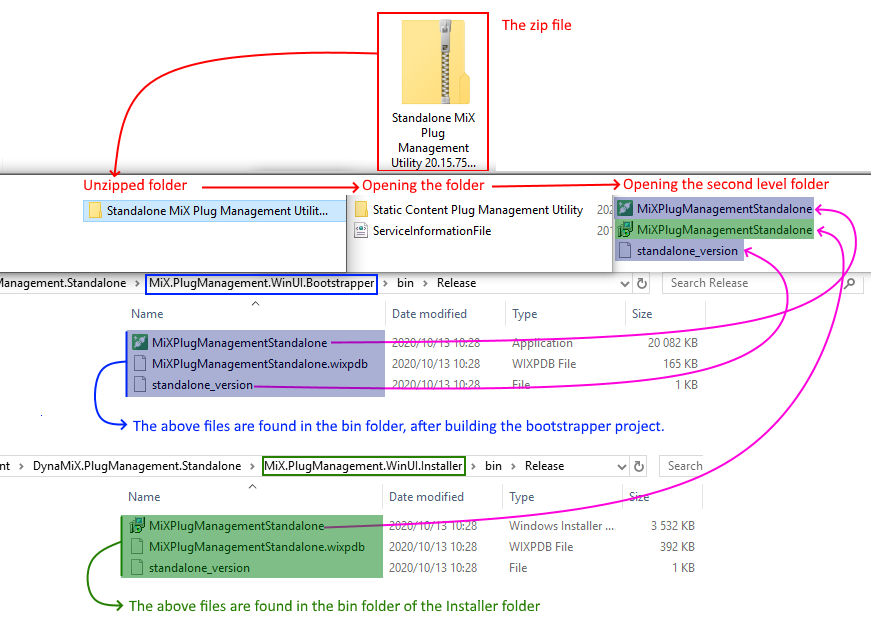
Here is an example of how the inner most folder looks from the zip file.

The zip file will be used as a template for the new zip file.
Unzip the file.
It will look like the image below (in red).
Make a copy of this folder (which you will use in future)
In the image below you can also see the bootstrapper (blue) and installer (green) files.
You need to overwrite the files in the zip template as per the pink arrows in the image below.
The version number in the standalone_version files in the two bin folders need to be the same. If this is not the case, something went wrong.

Once you have copied the files across, you will just need to give the folder name (the main unzipped folder) a quick rename. The name needs to indicate the version you used before building above.
Once you have done the above. Please zip this file (with the same naming convention as above)
Placing the file on the Q drive:
Once the zip file is ready we need to place it on the Q:
This is where deployments will happen from.
This will be our latest PMU file we want to release.
Here is an example for Release 12.15 where we would put the file.
(The Q: points to something like \afstbfap02)
It is placed in the Heartbeat folder on the Q drive under release 20.15
Q:\Development\Release and Deployment\Heartbeat\20.15\R20.15 Production Release\MiX Fleet IIS Boxes
(Q:\Development\Release and Deployment\Heartbeat\16.1\UAT Release\MiX Fleet IIS Boxes)